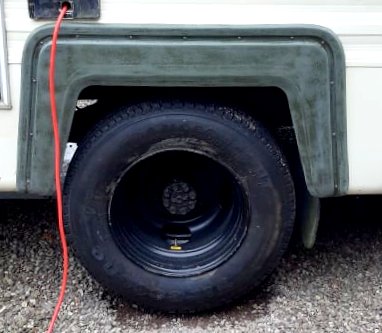
A bit more progress.
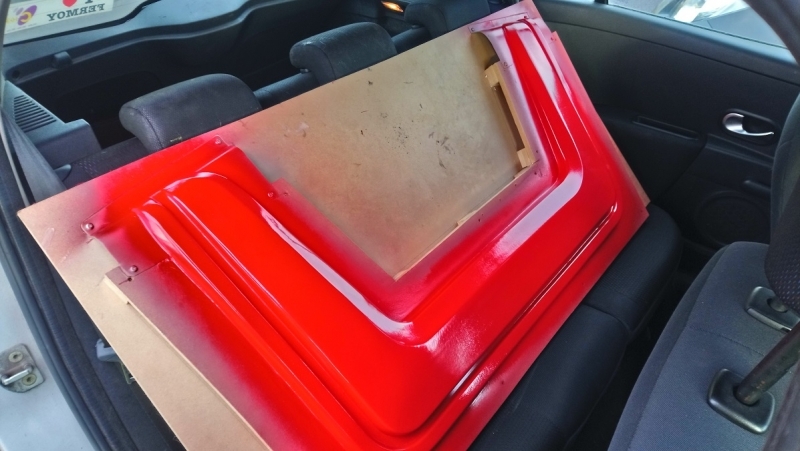
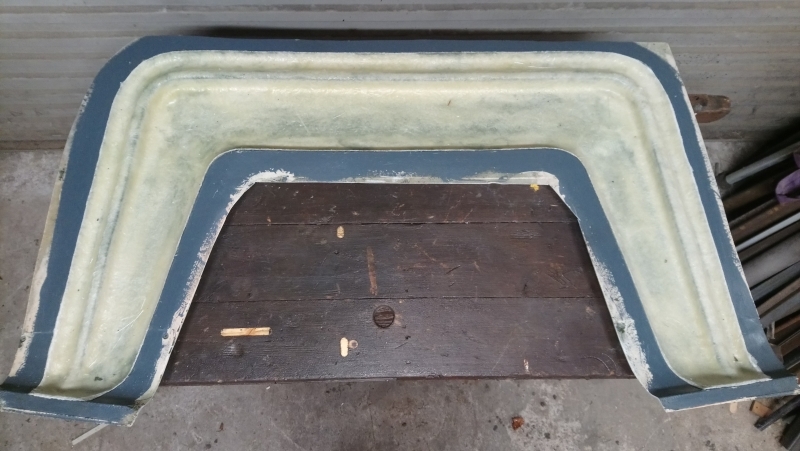
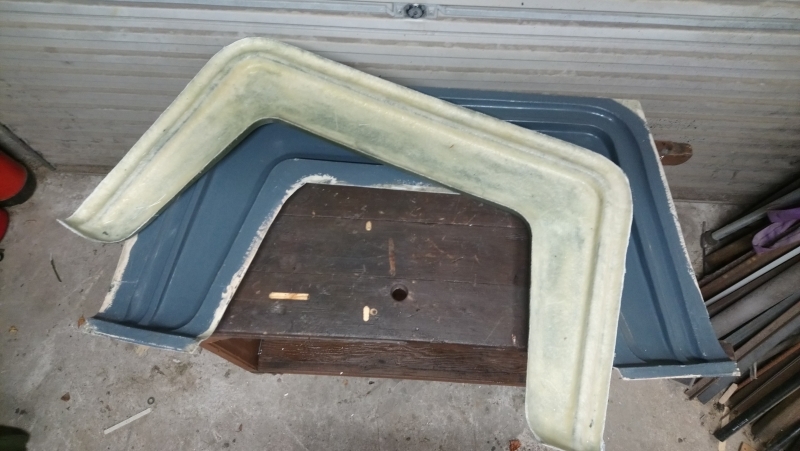
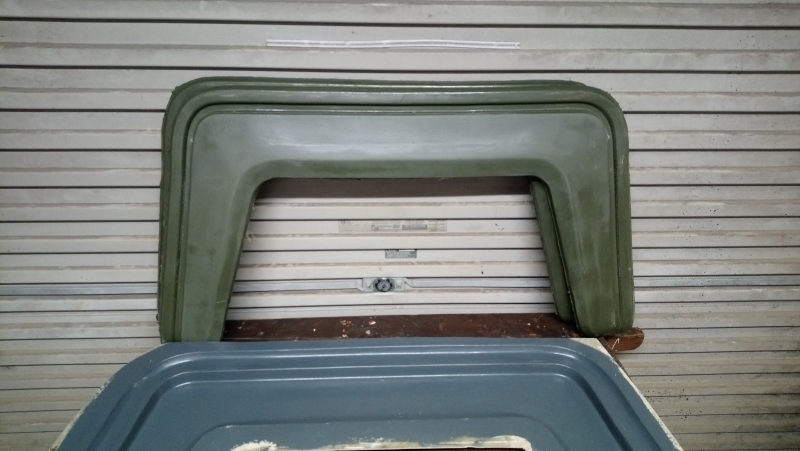
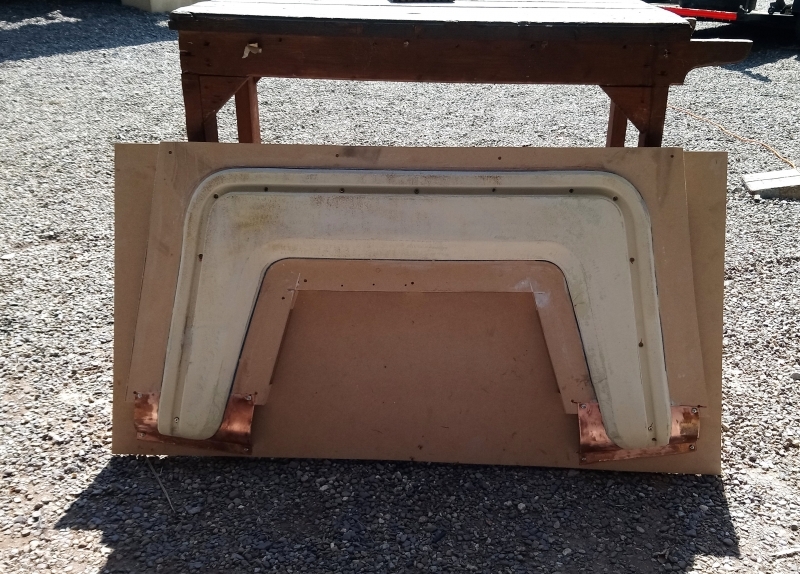
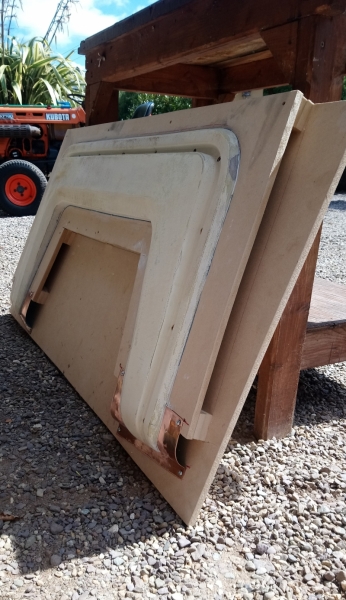
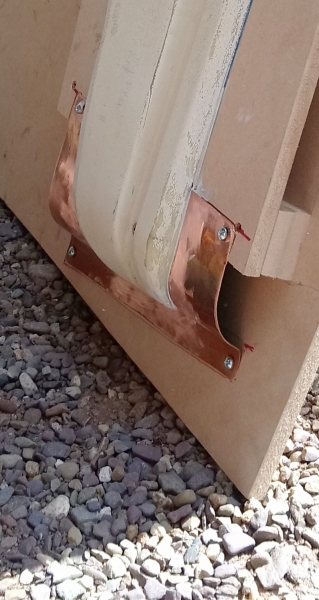
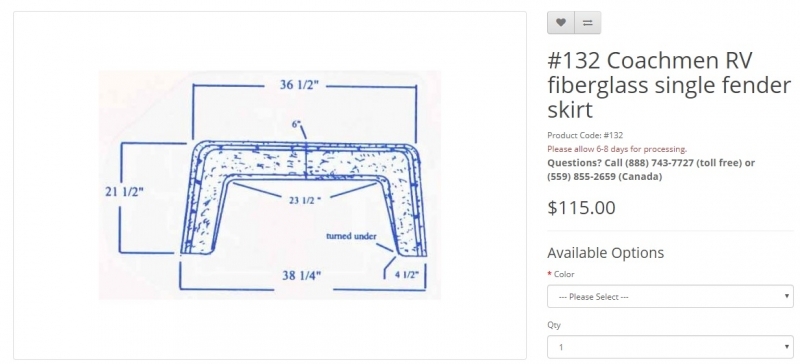
But first, the wheel arches. I had a couple of goes trying to make a mould on a test piece, but I wasn't happy with the results. I'm just not meant to be a mould maker...

With only one relatively delicate surviving wheel arch to work with, I didn't have any room to f*ck up, so I decided to bring it to a local boat builder who will make a few copies for me. Reasonably priced too. More on that later.
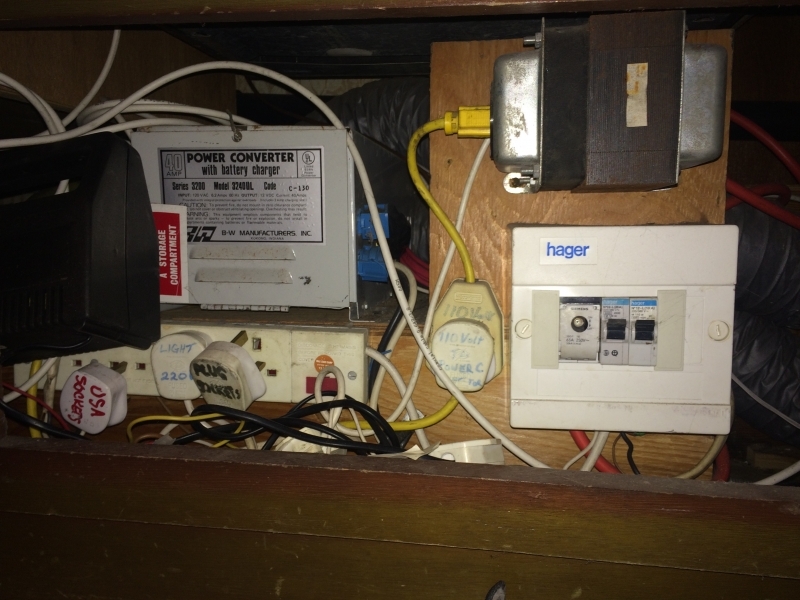
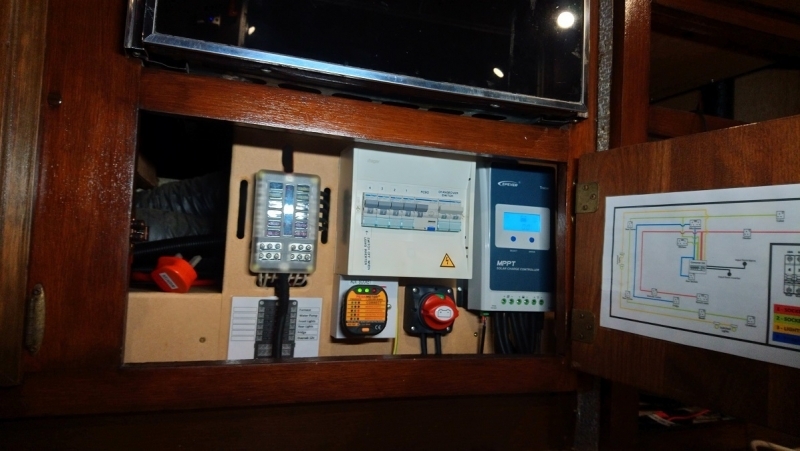
I haven't spent much time on the camper over the last few months. Any time I did spend was usually working in the back-half, working on some electrical wiring or finishing off the stripping & staining on the cabinets that my daughter started on.
Now that the kids are away at college, I have more time (and less money

), which gives me a good reason to work on the camper.

I decided to get back to working on the engine cover this Sunday. I started working on it last year, but I didn't finish it.
From day one I knew the new engine cover was wider than the original, but I didn't expect to have much difficulty getting it to fit. Again, hampered by trying to make a later model cab work with an 1980 dashboard & associated parts, I had my work cut out for me. (this bitch is really fighting me every step of the way

).
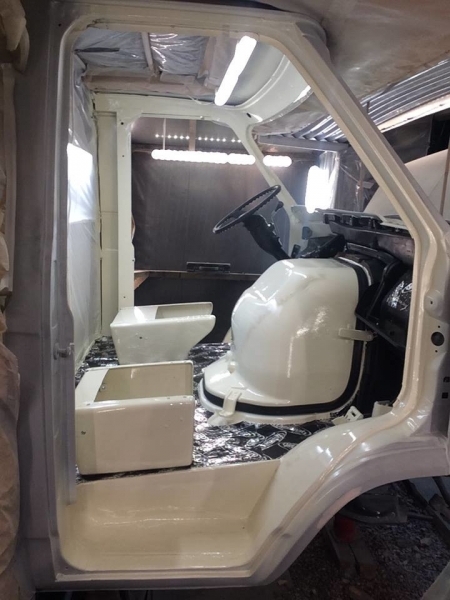
Heres a pic from a couple of years back before I put in the dashboard.
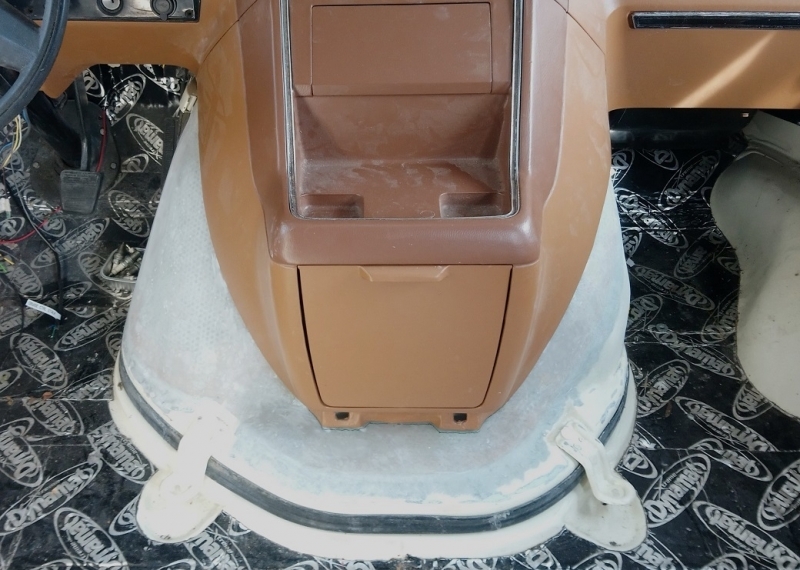
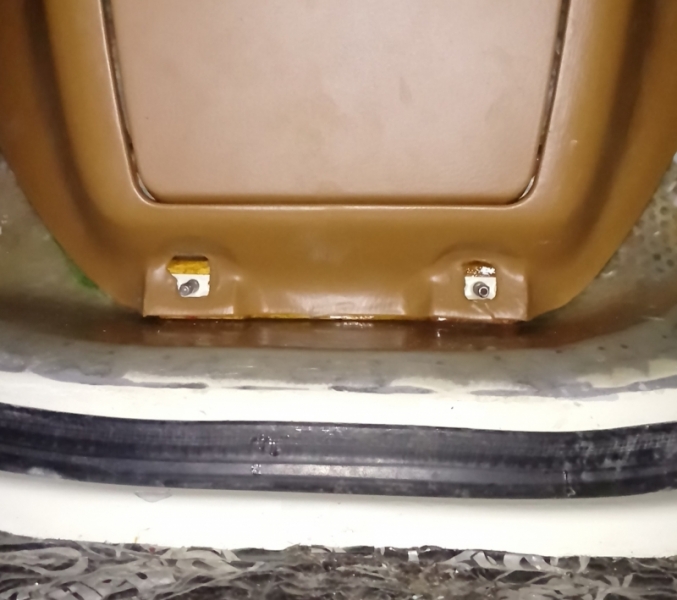
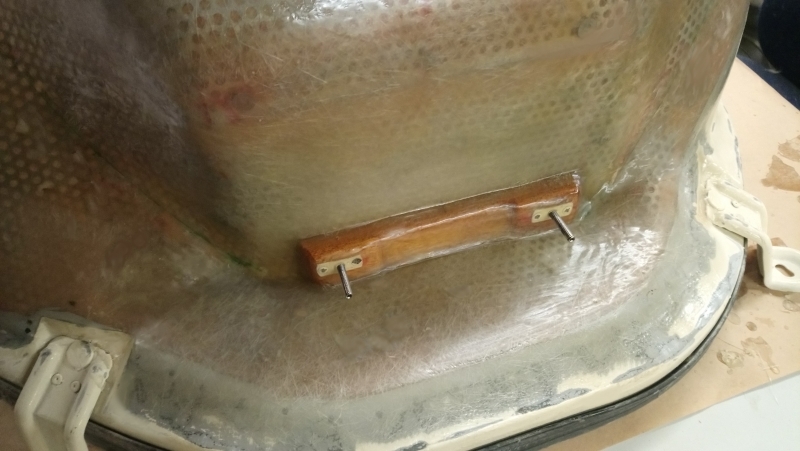
The centre console would not snug up to the dashboard properly because the engine cover had a few extra bulges in it.
(no pics, sorry)
The first bit of cutting & shaping:
But it was still cocked out at the bottom and on the right, and wouldn't line up with the dashboard. It doesn't look too bad in the photo below, but the panel gaps were awful and it just wouldn't fit right so I got frustrated with it and moved on to something else!
Fast forward to last weekend:
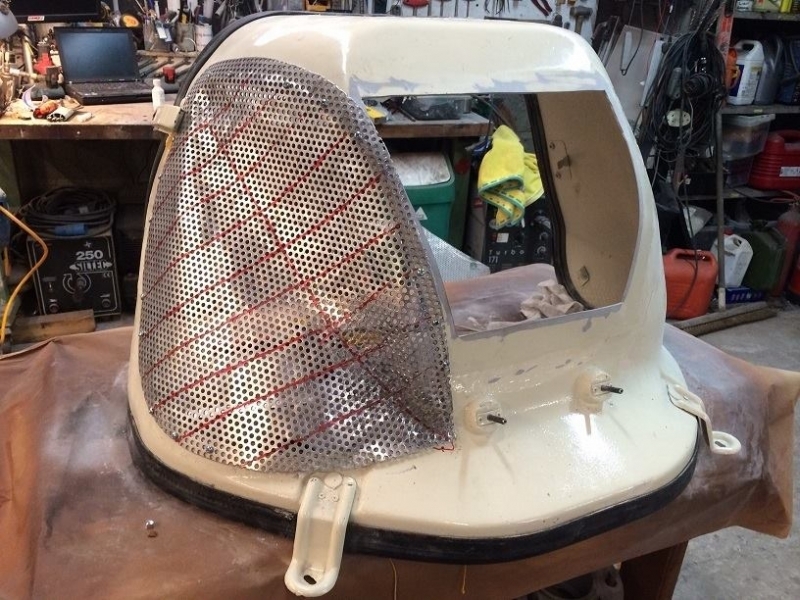
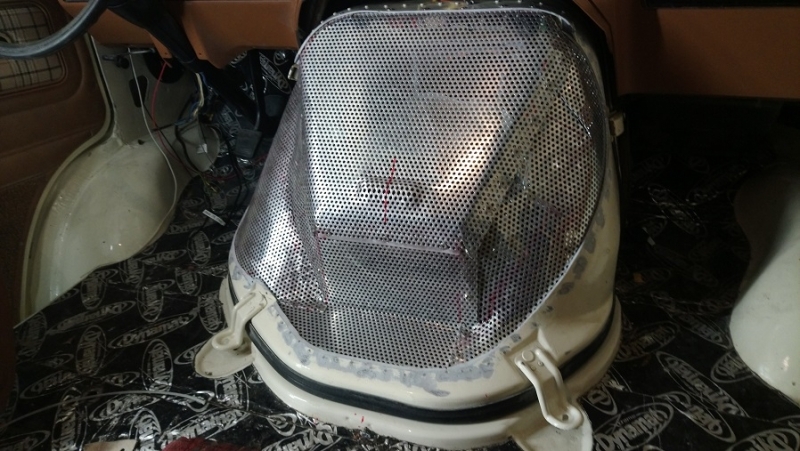
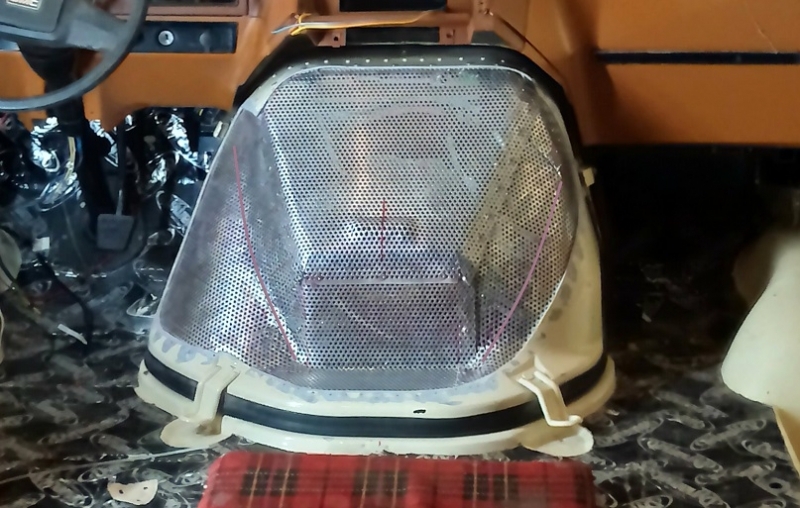
After lots of messing around, I decided the only way to go was to cut most of the cover away and make a new one.
I have lots of this light-weight perforated aluminium sheet material that stretches & shrinks into shape easily with a bit of hammering. It's also a great substrate for attaching fibreglass.
Several things had to be considered:
The compound curves on the engine cover needed to match those on the console.
The inside of the console had several protrusions that needed to clear the engine cover.
I needed to leave room for heat/sound insulation on the inside and for carpet on the outside.
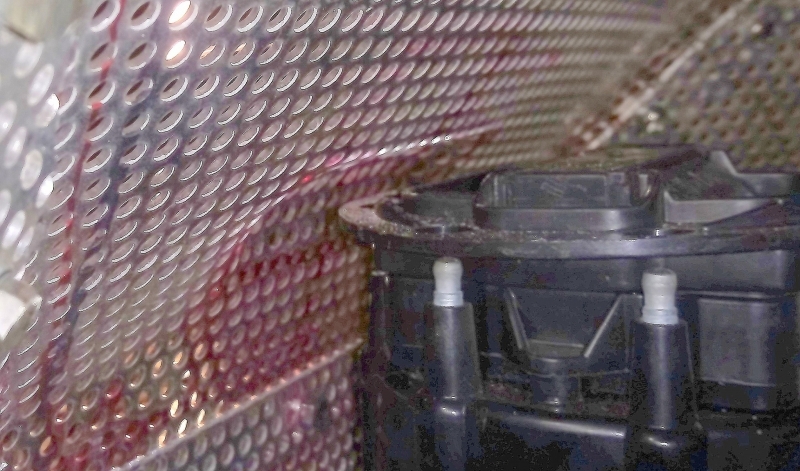
The distributor & air filter on the engine stuck up a bit so I had to keep away from those!
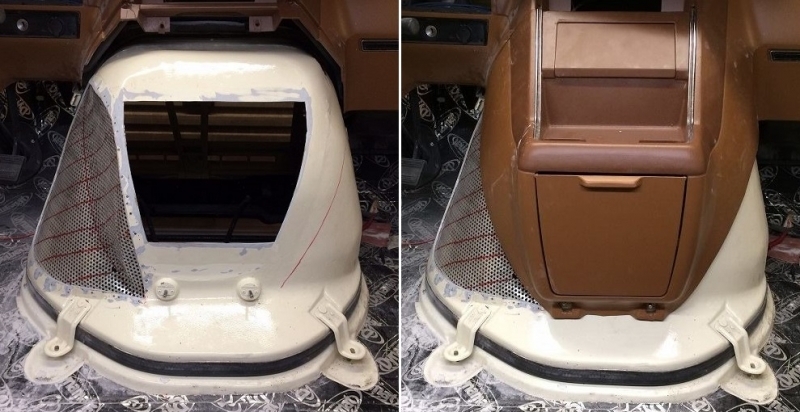
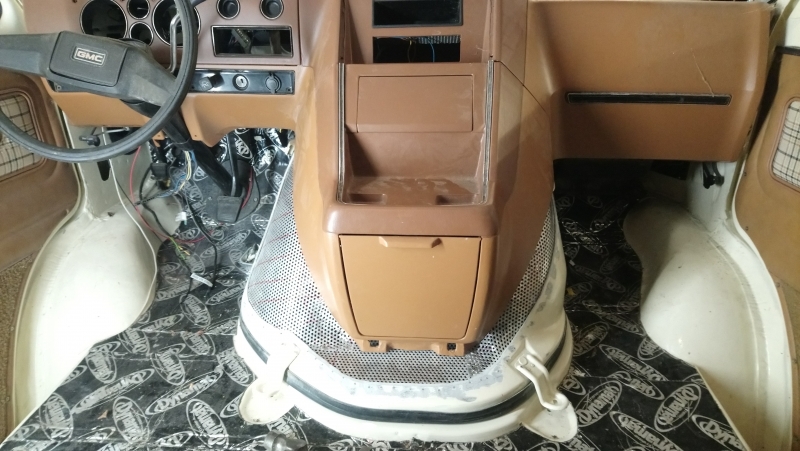
But it worked out pretty good in the end. Everything fits very nicely now.
I still need to wrap it in fibreglass to make it airtight and do a bit of filler shaping, but the worst part of this job is done. Once it's wrapped in carpet, it shouldn't look too out of place.
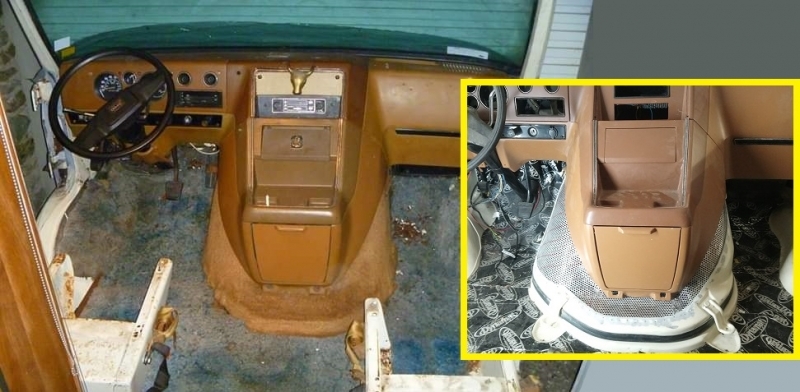
Original & new for comparison.
Some of you might be wondering why I decided to leave that large bump-out down low on the drivers side?
Heat. My lasting memory of driving this motorhome is just how toasty your legs get when driving it. On the passenger side too. The engine manifolds are right inside the cover on each side and it gets HOT. I plan to fit some beefy heat shields on the inside of the cover to cut down on the heat. I'm willing to sacrifice 2.5 inches of floorspace on the driver side to allow space for the heatshield. Well, that's the plan anyway...





 ), which gives me a good reason to work on the camper.